With this Guide, I will let you know how to root Redmi Note 4 in a very simple way. But before we do this, you should you why to root and what are the benefits of Rooting the phone.


Why should you root your smartphone ?
Well, almost all the smartphone users do this in order to install Custom Roms on their devices. If you are bored with your regular UI and want some changes with different features then only one solution to problem is Custom Rom and for that you need to have root access in your device. Rooting your smartphone will void your warranty so, you must keep this thing in mind before you begin rooting.
Also, rooting allows to make changes in stock UI as well like making some changes in system, remove system apps (bloatware apps), installing new features and other fun stuffs.
How to Root Redmi Note 4 ?
- Before you proceed, a backup is always recommended.
- Your devices must have TWRP recovery installed. In case you haven't then please go to - How to install TWRP recovery tutorial.
Now, follow the guideline properly -
- Download these two files -
- Copy these two files into your internal storage of your device.
- Boot your phone into TWRP recovery. To do so, Switch off your device, Press and hold Power button and volume up button together until the mi logo appear.

- Select install

- Choose Superuser zip file.

- Now swipe to install the superuser zip file.

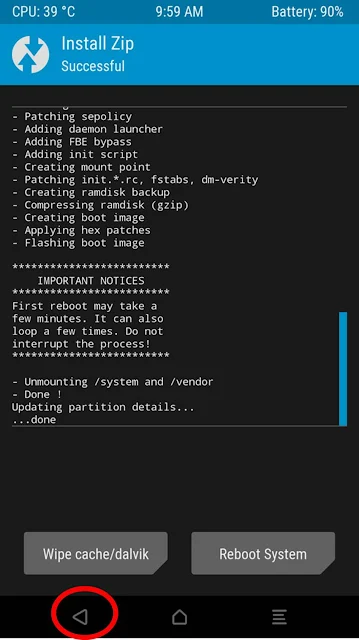
- Now go back.

- Select lazyflasher zip file.

- Now swipe to install the superuser zip file.

- All Done. Reboot your phone.

Now your device is Rooted and you will find that, there is one more app is installed "SuperUser".
To get the 100% success rate of root, I use the KingRoot application on my device...
ReplyDeleteThe above mentioned method is the most commonly used and most preferable Rooting method for Redmi Note 4.
DeleteThis is one the best application i have ever seen.
ReplyDeleteThank you for this app....
ReplyDelete